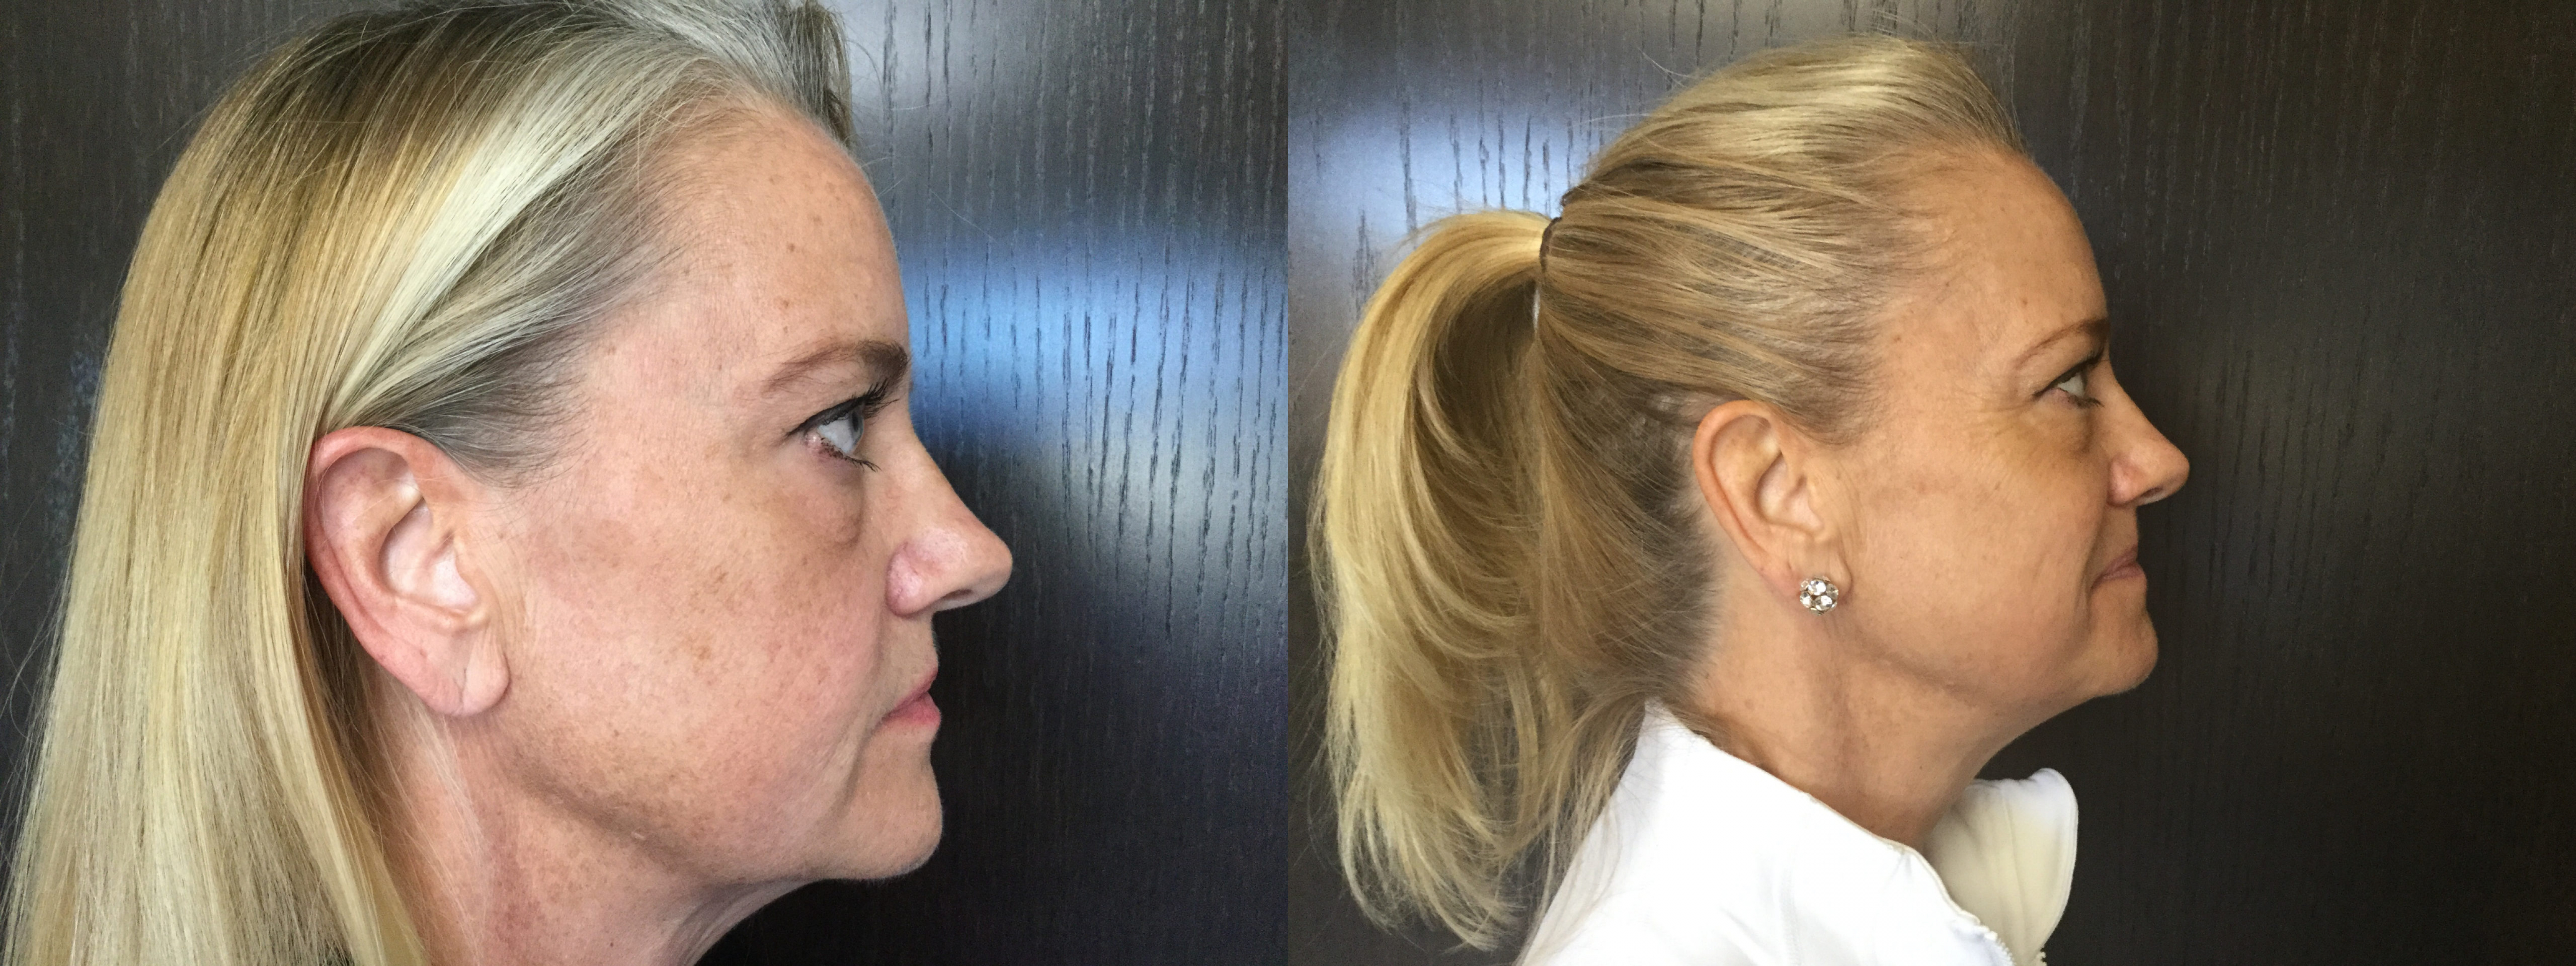
HomeBBL™ Photofacial Before and Afters BBL™ Photofacial Before and Afters BBL Photofacial Case 1 Before After BBL Photofacial Case 2 Before After